

Dynamically Generate Open Graph Images for Your Shopify Store
Creating captivating Open Graph (OG) images for every product or page on your Shopify store can be a time-consuming task. As e-commerce competition intensifies, having unique and appealing OG images is vital for social media success. What if you could automate this process, saving time and enhancing your social media engagement?
The Solution: A Tool for Automated OG Image Creation for Shopify
Introducing a dynamic solution for Shopify store owners – an easy-to-use tool designed to automatically generate OG images. This tool allows you to choose from pre-designed templates or create custom ones that automatically adapt to your products or content.
Transform Your Social Sharing Experience
Experience a visual transformation in your social sharing cards:
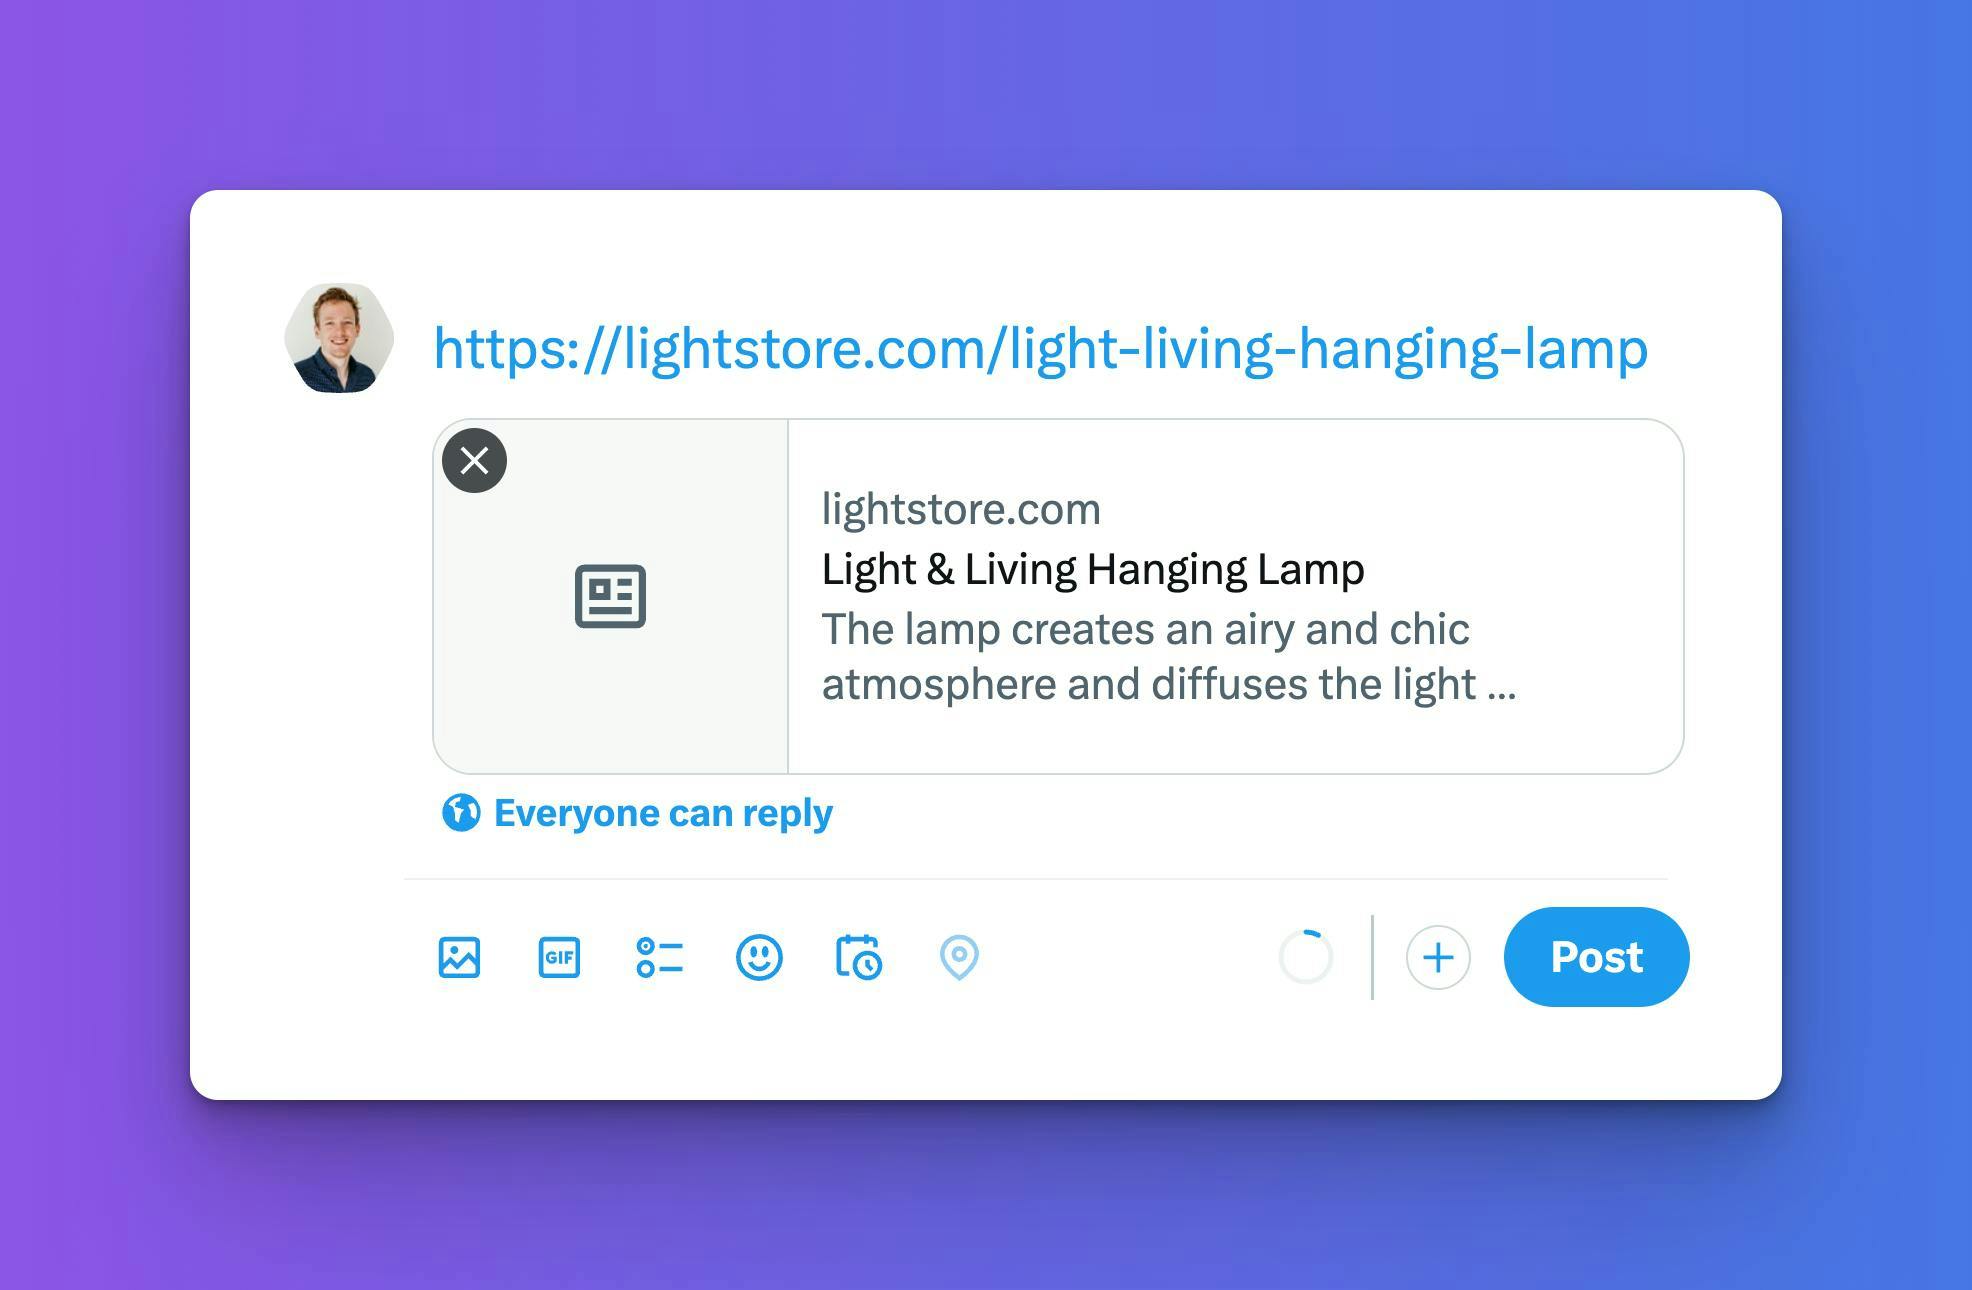
Before: Standard, less engaging social sharing card.
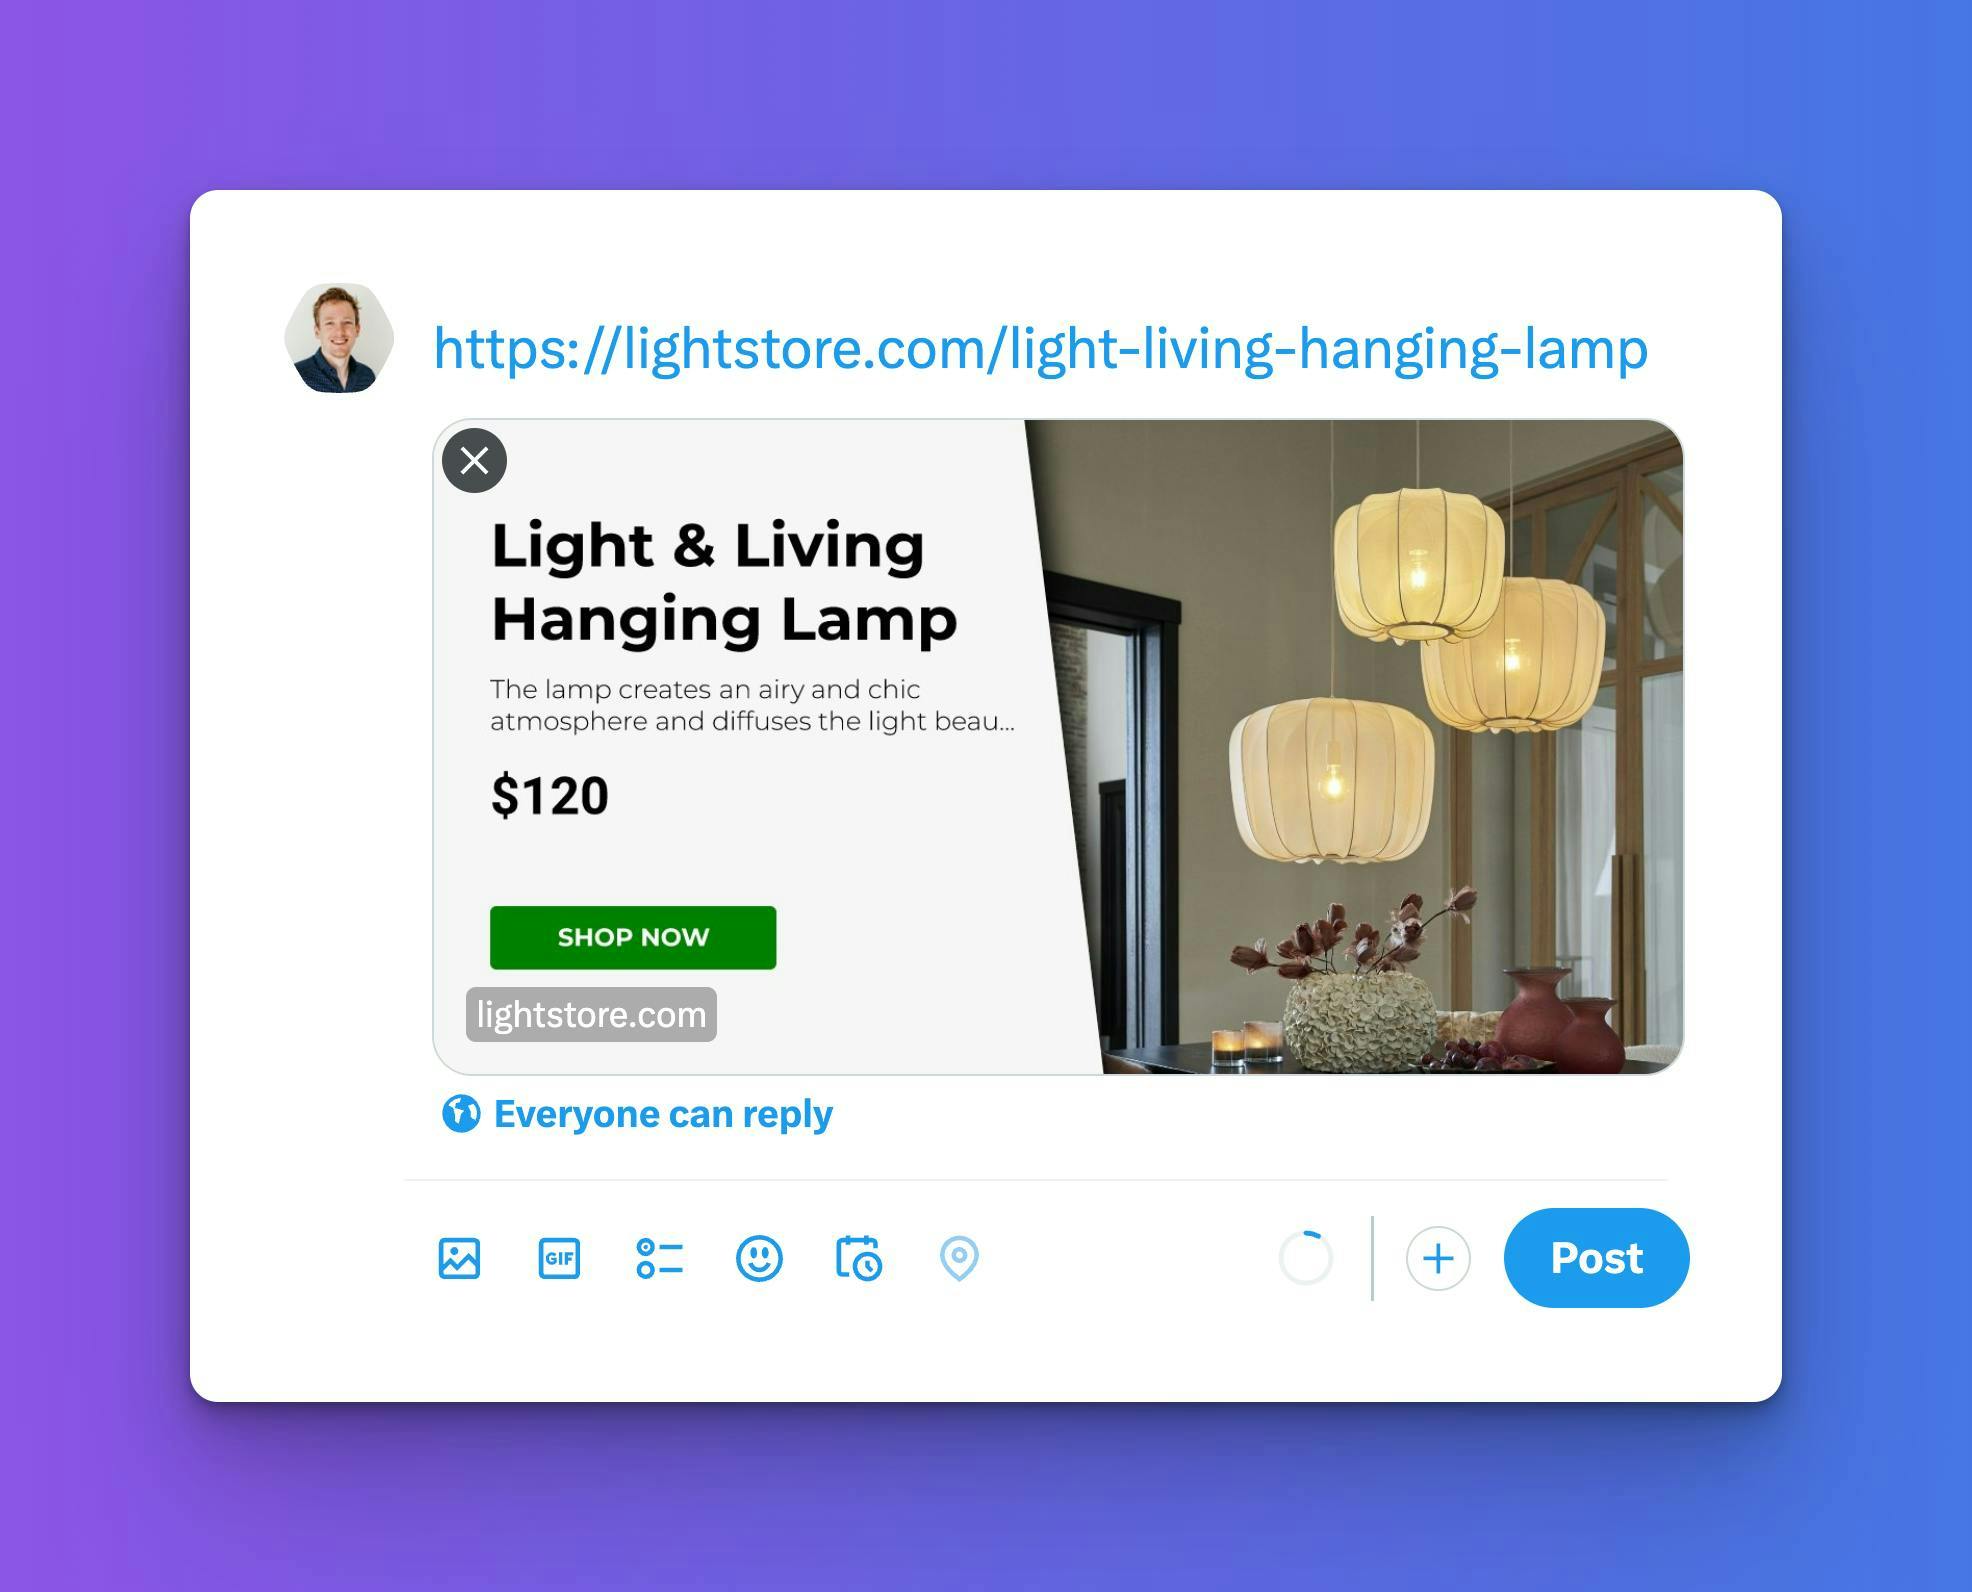
After: Eye-catching, custom Open Graph image tailored for your product.
Enhancing the appeal of your Shopify store on social media platforms is crucial for attracting more customers. One effective way to do this is by implementing dynamic Open Graph (OG) tags. These tags help in creating visually appealing previews when your store's links are shared on platforms like Facebook and Twitter. Today, I'll walk you through a simple process to set up dynamic OG tags in your Shopify store using a custom template URL
First, let's head to the area where we can edit your Shopify store's theme code.
- Accessing the Themes Section: Start by going to the 'Sales Channels' and then click on 'Online Store'. From there, navigate to 'Themes'.
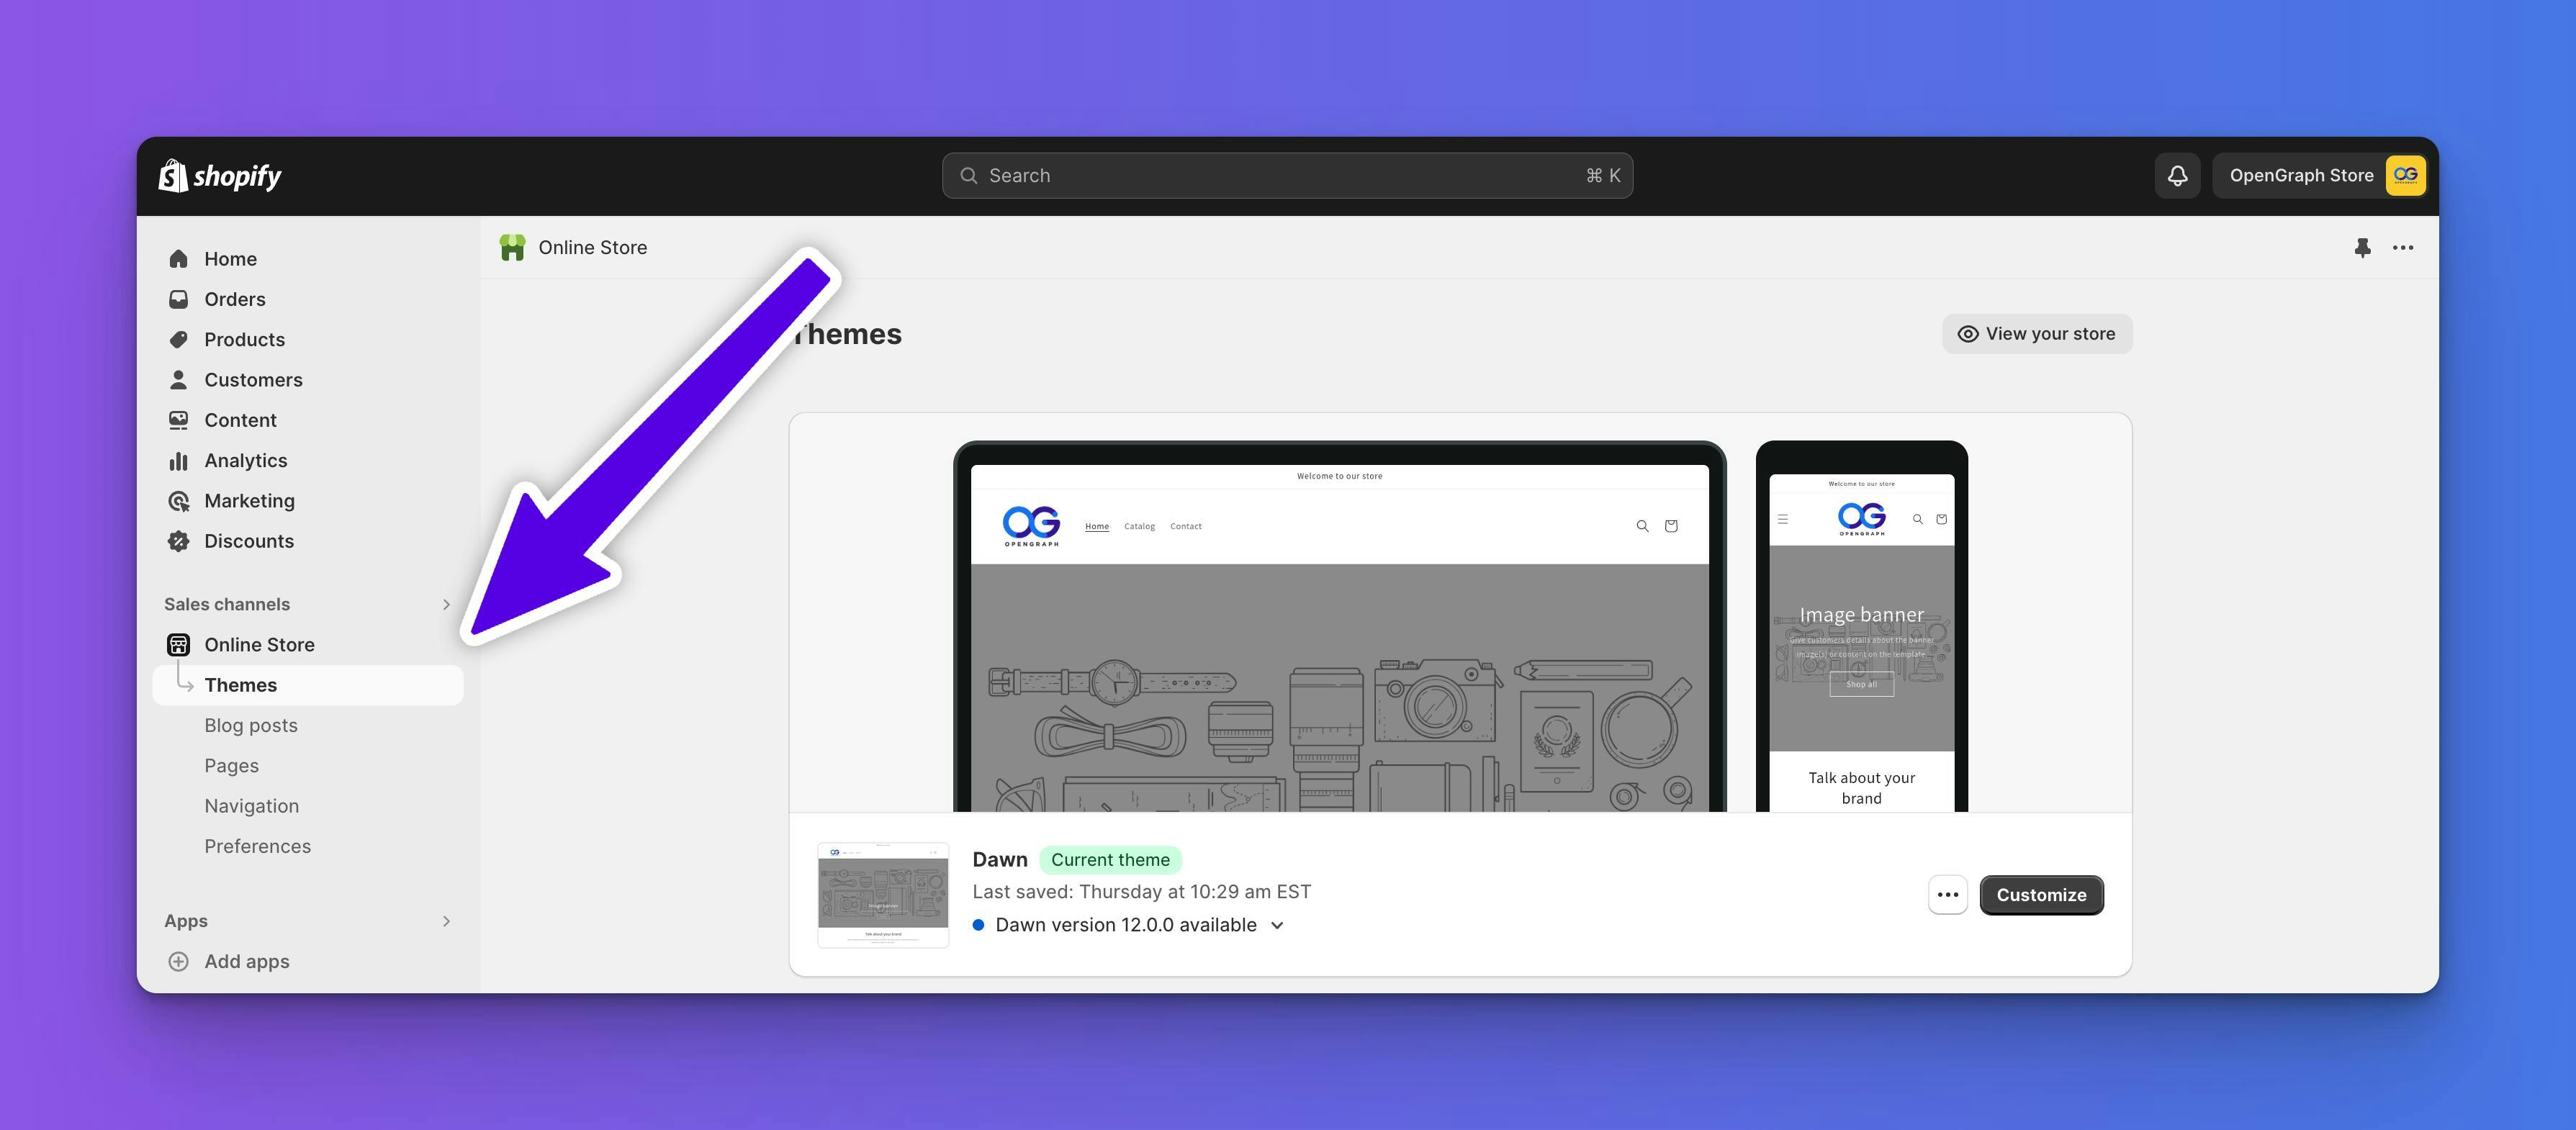
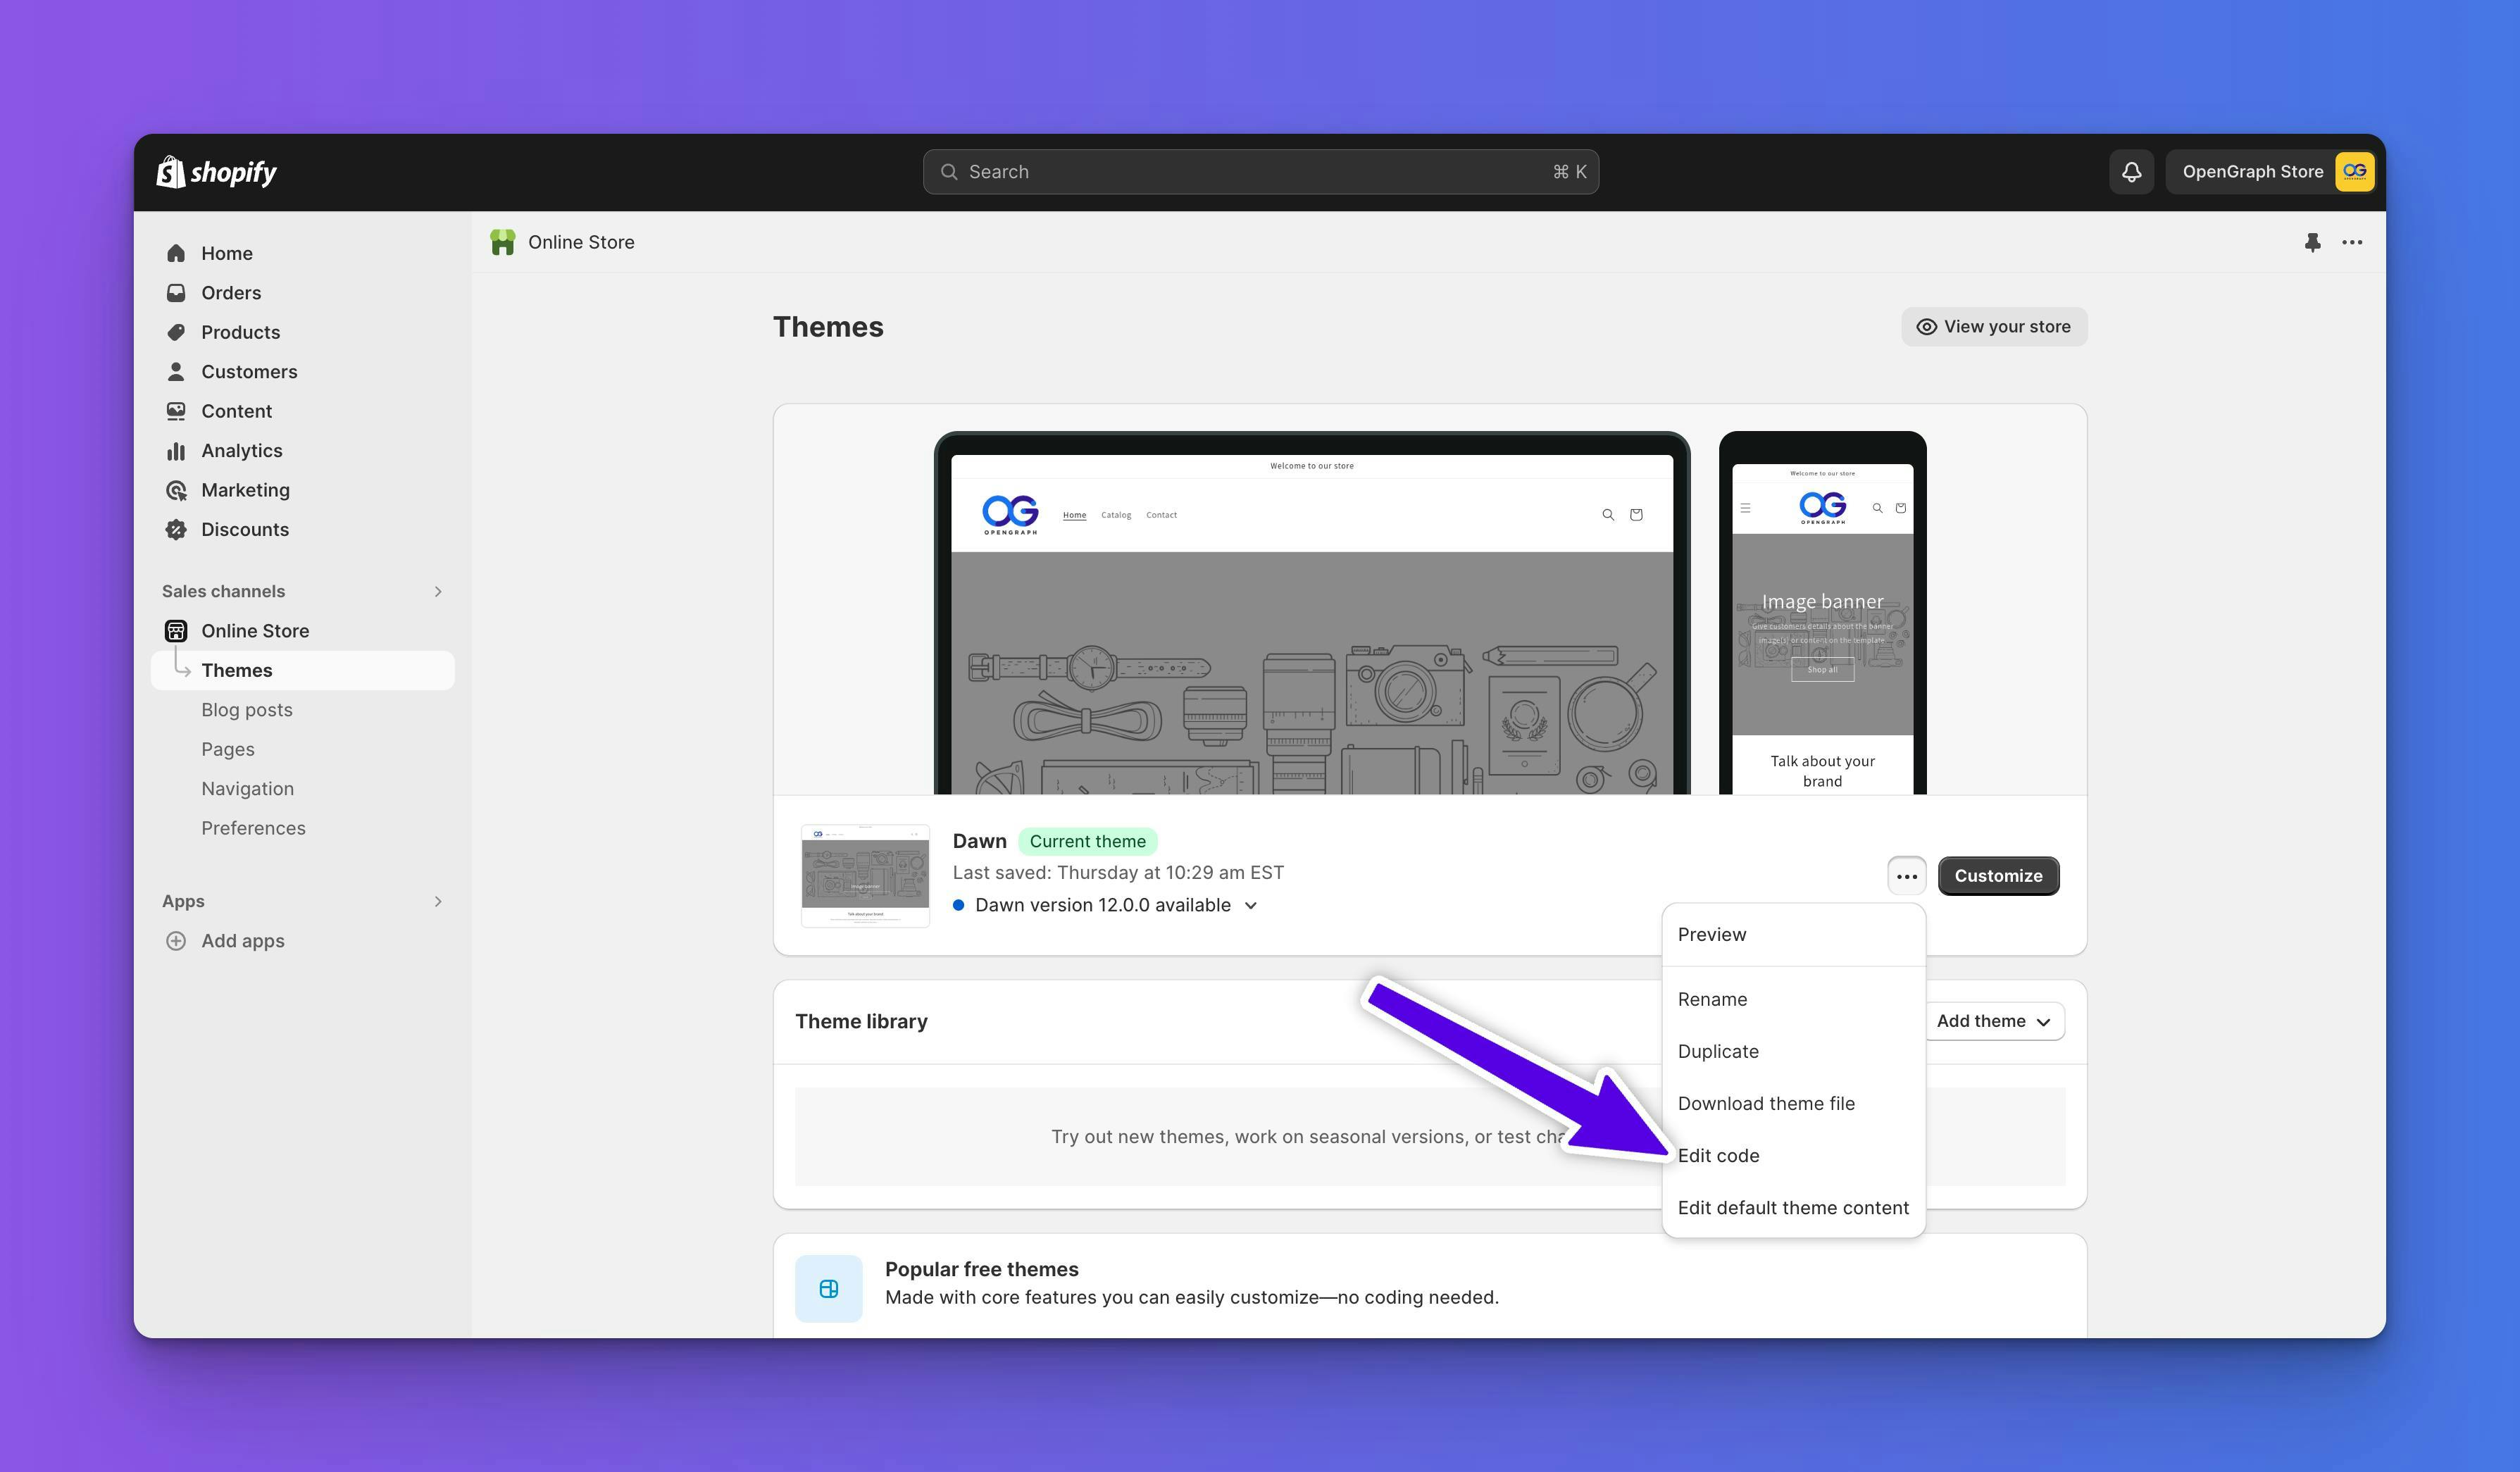
- Editing the Code: In the Themes section, find the theme you want to edit and click on 'Actions', then select 'Edit Code'.
Locating the Right Files
Editing Theme Files: Please note that file names and structures can vary in different Shopify themes. If you encounter a file structure that differs from what's described in our guide, or if you're unsure about the implementation process, feel free to reach out to us. Our team is here to provide support and guidance, ensuring you successfully integrate dynamic Open Graph tags into your Shopify store, regardless of your theme's specific setup.
Once in the theme editor:
- Finding the 'Snippets' Folder: On the sidebar, look for the folder named 'Snippets'. This is where we'll be making some of our key changes.

- Editing the 'meta-tags.liquid' File: In the Snippets folder, find and click on the 'meta-tags.liquid' file. This file is crucial as it contains the code for your store's meta tags, including the Open Graph tags.

Preparing for the Dynamic OG Image URL Implementation
Now that we have located and opened the 'meta-tags.liquid' file in your Shopify store's theme, this is where we'll make the crucial changes. This file controls the meta tags, including the Open Graph tags, which directly influence how your products appear on social media platforms.
Introducing the New Meta Tag
In this file, we'll be adding a new meta tag specifically designed to utilize a dynamic OG image URL. This URL will automatically generate a unique, tailored image for each product, enhancing its shareability and appeal on social media.
Next Step: Understanding the Dynamic Template URL
Before we proceed with the actual code modification, it's important to understand what a dynamic template URL is and where you can find it. This knowledge is key to customizing your OG images effectively.
In the next section, we'll delve into the concept of the dynamic template URL, explaining its structure and how it can be used to transform your Shopify store's social media presence.
Grasping the Concept of a Dynamic Template URL
Before we integrate the dynamic template URL into your Shopify store, let's briefly explore what this URL is and its functionality.
What is a Dynamic Template URL?
A Dynamic Template URL is essentially a structured web address provided by our platform. It is designed to automatically generate an Open Graph image for each of your products, based on specific parameters like title, description, or price. This URL acts as a template that changes dynamically to reflect each unique product in your store.
Interactive Example: Try It Out
To illustrate how this works, we've set up a simple example. This demo template URL includes just text within an image, showing how dynamic generation works:
https://ogcdn.net/e23b4a4f-83c2-4d9b-addb-051de54d819c/v1/{title_text}/og.png
Here, {title_text} is a placeholder where you can insert different text. For instance:
https://ogcdn.net/e23b4a4f-83c2-4d9b-addb-051de54d819c/v1/Example%20of%20Dynamic%20OG%20Image/og.png
In this URL, we replaced {title_text} with "Example of Dynamic OG Image". If you paste this URL into your browser, you'll see the OG image update to include your custom text.

Flexibility of Dynamic Content
This example underscores the versatility of dynamic OG images. By simply changing a segment of the URL, the image is instantly customized. This principle is what we'll apply to your Shopify store, enabling each product to have its own unique social media preview.
Now that you understand the basics of a dynamic template URL, we're ready to move on to finding and applying your specific template URL for your Shopify store.
Locating Your Dynamic Template URL
Now, let's explore the process of finding your unique dynamic template URL, which is a pivotal step in generating custom Open Graph images. The method varies slightly depending on whether you are using the free version or are a premium member.
For Free Version Users
- Visit the OpenGraph.xyz Website: Navigate to opengraph.xyz and enter a URL from your Shopify store.
- Choosing a Template: In the "Edit" section, click on "Choose OG Image template" to access a variety of free templates.
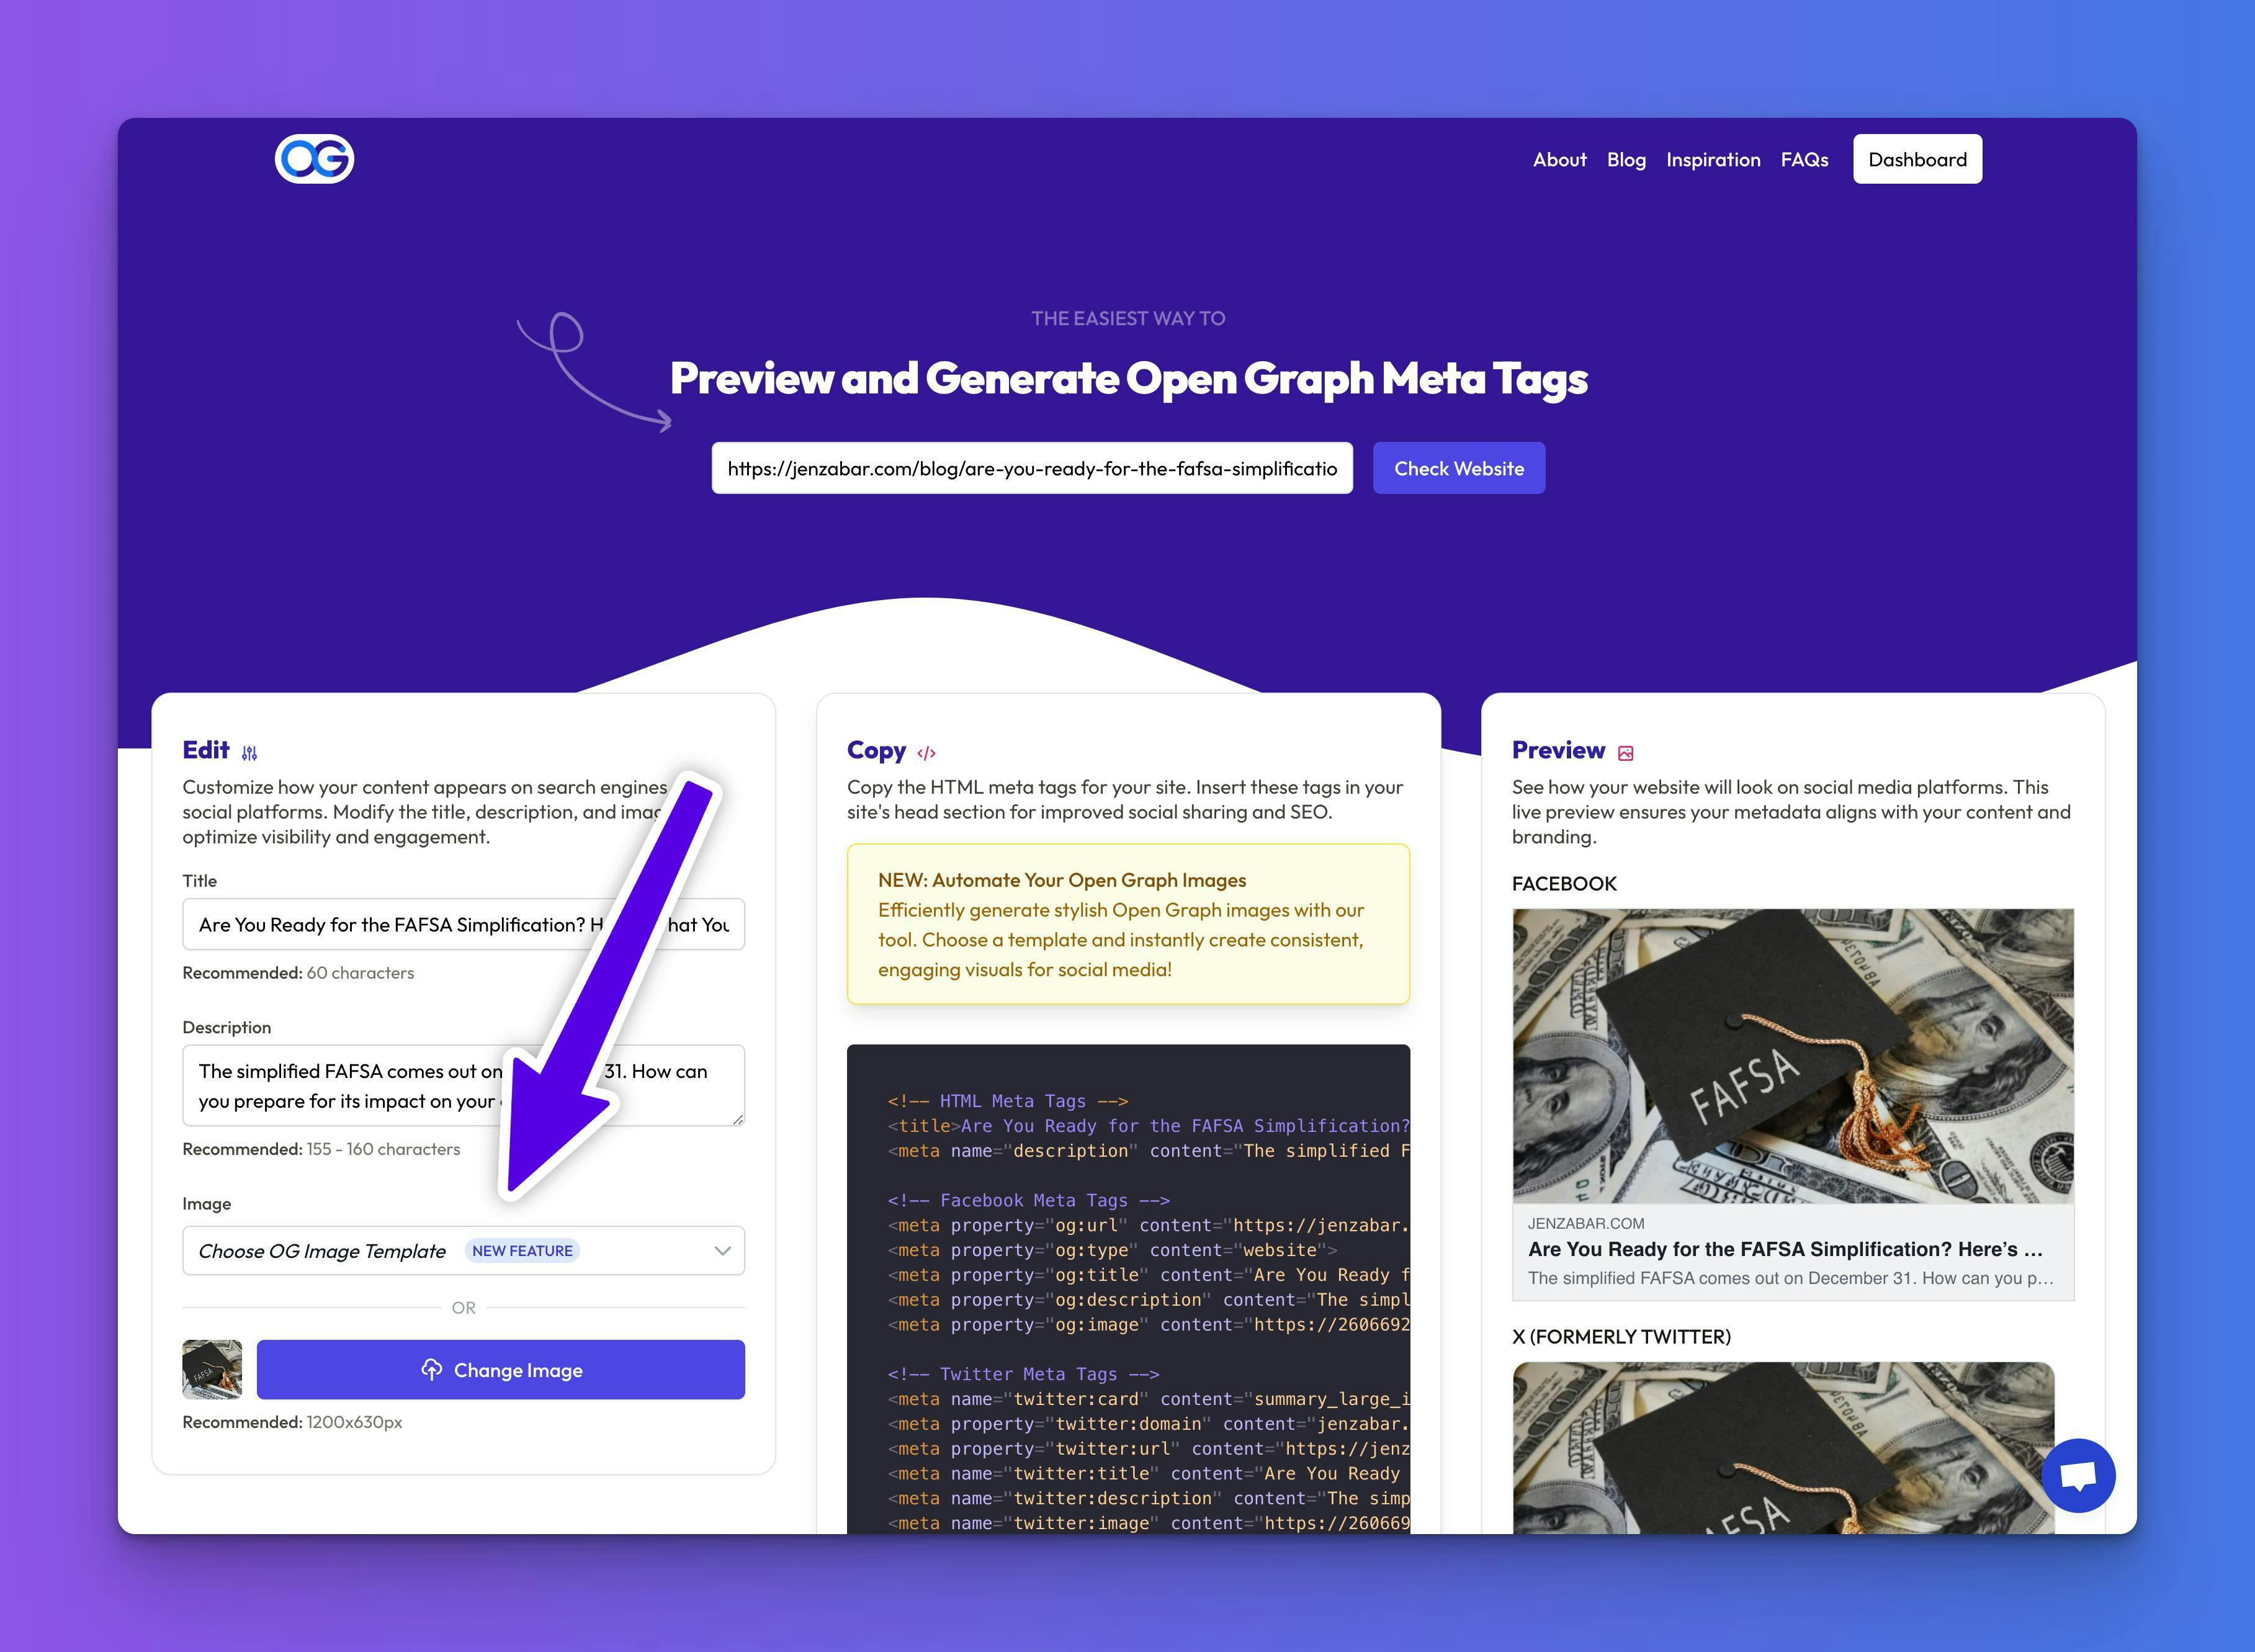
- Select and Copy Your URL: After selecting your preferred template, proceed to the "Copy" section. Here, you'll find a code snippet containing your dynamic template URL. It typically looks like this:
- Your template URL is in the comment on lines 10-14
<!--You can generate this image URL dynamically: [Your Template URL]Replace the variables in the brackets with your own values and use this URL in the image tag below this comment. Ensure values are URL encoded.For more information, read: [Link to your blog post]-->
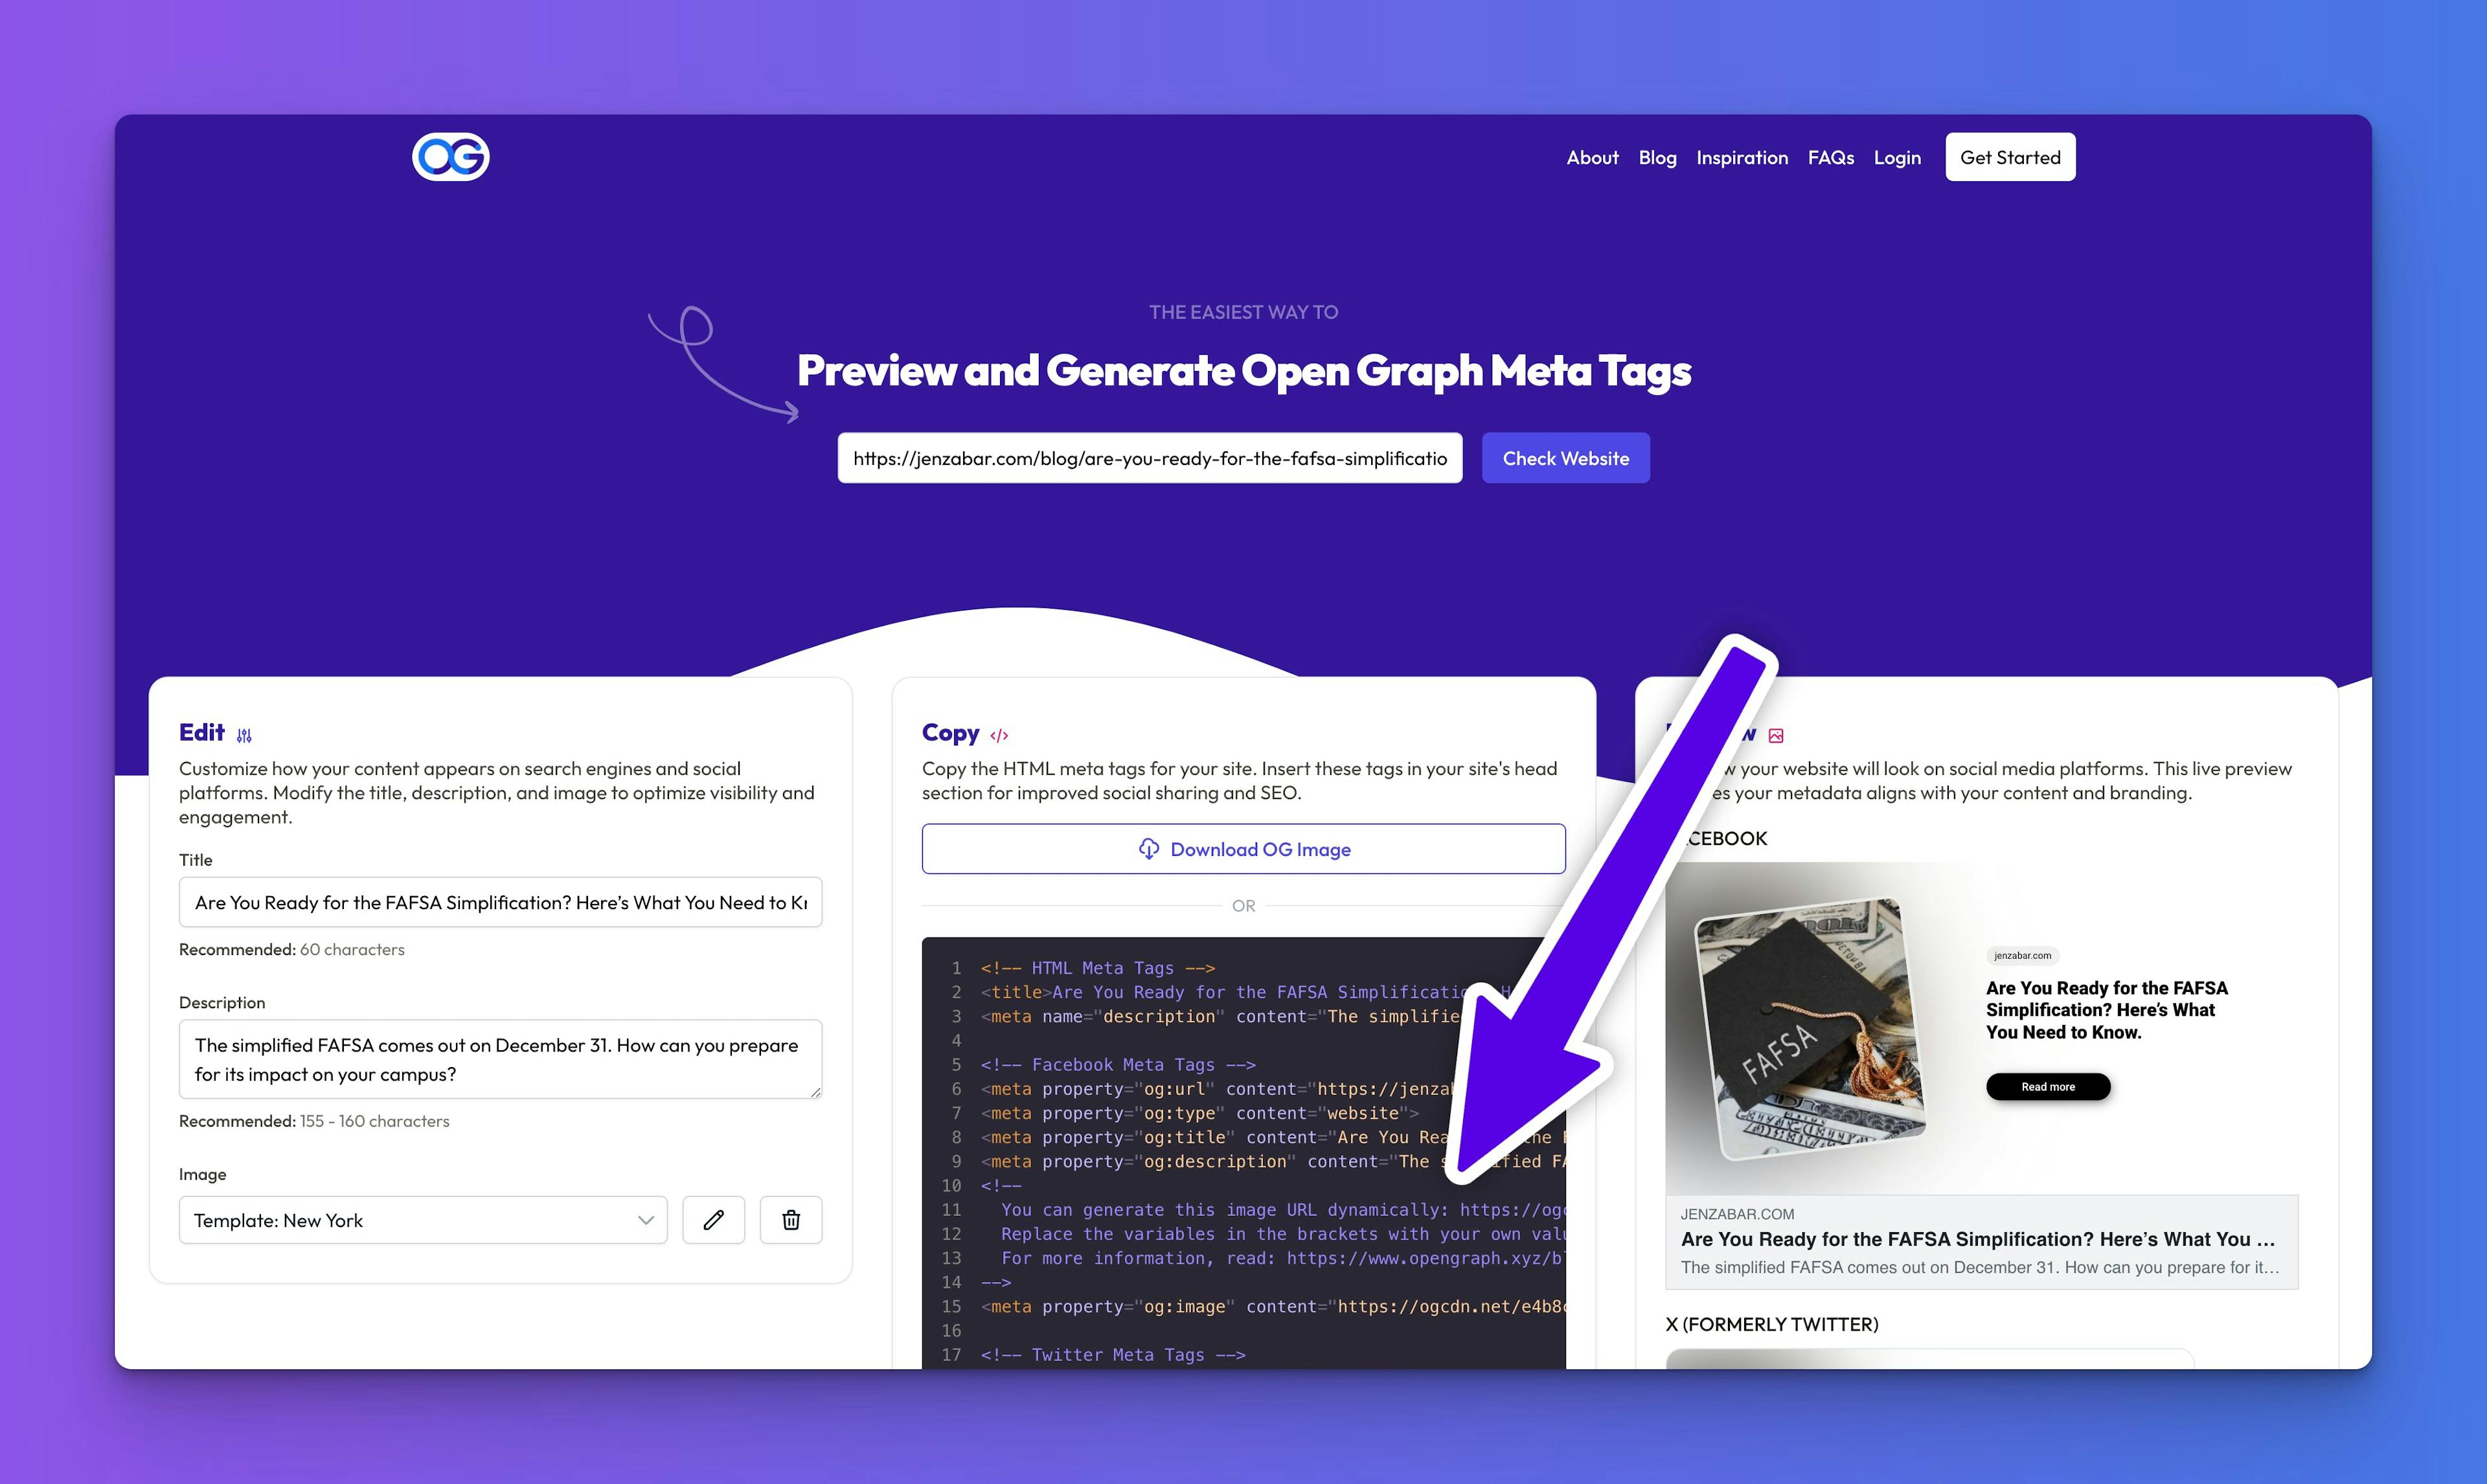
- Creating Custom Templates: Log into your account on the OpenGraph.xyz dashboard and create a custom template tailored to your brand's needs.
- Integration and URL Retrieval: Once you've completed your template, click on "Integration" at the top right corner of the dashboard. This action will display the URL for your custom template.

- Ready for Use: This URL is now ready to be integrated into your Shopify store, just like in the free version.
Next Steps: Implementing Your Template URL
With your dynamic template URL in hand, you're all set to start generating unique and engaging OG images for each product on your Shopify site. The upcoming section will guide you through the process of implementing this URL in your store's theme.
Implementing Your Template URL in Shopify
Now that you have your dynamic template URL, the final step is to integrate it into your Shopify store. This will enable each product page to automatically generate its own unique and engaging OG image.
- Access the 'meta-tags.liquid' File: Return to the 'meta-tags.liquid' file within the 'Snippets' folder of your Shopify theme editor.
- Inserting the Dynamic Template URL: Locate the section of the file where the OG image tags are defined. You will replace or modify these tags to use your new dynamic template URL. Here's a basic example of how to implement it:
{%- if page_image and request.page_type != 'product' -%}<meta property="og:image" content="http:{{ page_image | image_url }}"><meta property="og:image:secure_url" content="https:{{ page_image | image_url }}"><meta property="og:image:width" content="{{ page_image.width }}"><meta property="og:image:height" content="{{ page_image.height }}">{%- endif -%}{%- if request.page_type == 'product' -%}<meta property="og:image" content="http://ogcdn.net/78a58073-7eff-4984-896f-20e1533a7ca5/v6/{{ product.title | url_encode | replace: '+', '%20' }}/{{ product.description | url_encode | replace: '+', '%20' }}/{{ product.price | money_with_currency | url_encode | replace: '+', '%20' }}/http:{{ page_image | img_url: '1200x' | url_encode | replace: '+', '%20' }}/og.png"><meta property="og:image:secure_url" content="https://ogcdn.net/78a58073-7eff-4984-896f-20e1533a7ca5/v6/{{ product.title | url_encode | replace: '+', '%20' }}/{{ product.description | url_encode | replace: '+', '%20' }}/{{ product.price | money_with_currency | url_encode | replace: '+', '%20' }}/http:{{ page_image | img_url: '1200x' | url_encode | replace: '+', '%20' }}/og.png"><meta property="og:image:width" content="1200"><meta property="og:image:height" content="630"><meta property="og:price:amount" content="{{ product.price | money_without_currency | strip_html }}"><meta property="og:price:currency" content="{{ cart.currency.iso_code }}">{%- endif -%}
- Dynamic Data Insertion: Ensure that your template URL correctly incorporates product-specific details like title and description. If your template URL uses placeholders, they should be replaced dynamically with relevant Shopify liquid code. For instance, {product_title} should be replaced with {{ product.title | url_encode | replace: '+', '%20' }}.
- Save and Test: After making these changes, save the file. Test the implementation by visiting a product page and using a tool like the Facebook Sharing Debugger to preview how the OG image appears.
Ensuring Correct Implementation
- Correct URL Encoding: It's crucial to use the url_encode filter and replace + with %20 for space characters, as Shopify converts spaces to + by default, which might not be correctly interpreted by all platforms.
- Verifying Dynamic Content: To confirm that the dynamic content (such as product title or description) is correctly integrated into the URL, use the Chrome Inspector. Open a product page, right-click on the page and select "Inspect" to open the Chrome Developer Tools. Under the "Elements" tab, look for the <head> section to find the og:image meta tag. Here, you can verify if the OG image URL includes all the correct data dynamically added. This step is crucial to ensure that each product page is generating the correct unique OG image.
Conclusion
With the dynamic template URL properly implemented in your Shopify store, each product page will now automatically generate a unique and visually appealing OG image. This not only enriches the aesthetic appeal of your products on social media but also enhances user engagement and can lead to increased traffic and sales.